반응형
싱글톤 패턴 이란?
• 어플리케이션이 시작될 때 어떤 클래스가 최초에 한 번만 메모리를 할당(static)하고 해당 메모리에 인스턴스를 만들어 사용
• 인스턴스가 필요할 때 똑같은 인스턴스를 만들지 않고 인스턴스를 활용
• 생성자가 여러 번 호출되어도 실제 객체는 하나이며 최초 생성된 객체를 계속 반환

* 실제로 단 하나만 존재해야만 하는 물건이 있을 때 사용
회사에서 단 하나의 프린터를 공유해서 쓰는 것과 유사하다.

싱글톤 패턴 장단점
장점
• 객체를 한 번만 생성하고 반환하기 때문에 메모리 영역을 한 번만 할당 (메모리 낭비 방지)
• 싱글톤으로 구현한 인스턴스는 ‘전역’이므로 다른 클래스의 인스턴스와 데이터 공유 가능
단점
• 싱글톤 인스턴스가 혼자 너무 많은 일을 하거나 공유하면 다른 클래스와의 결합도 증가
• 멀티 스레드 환경에서 동기화 처리를 하지 않으면 인스턴스가 1개 이상 생성
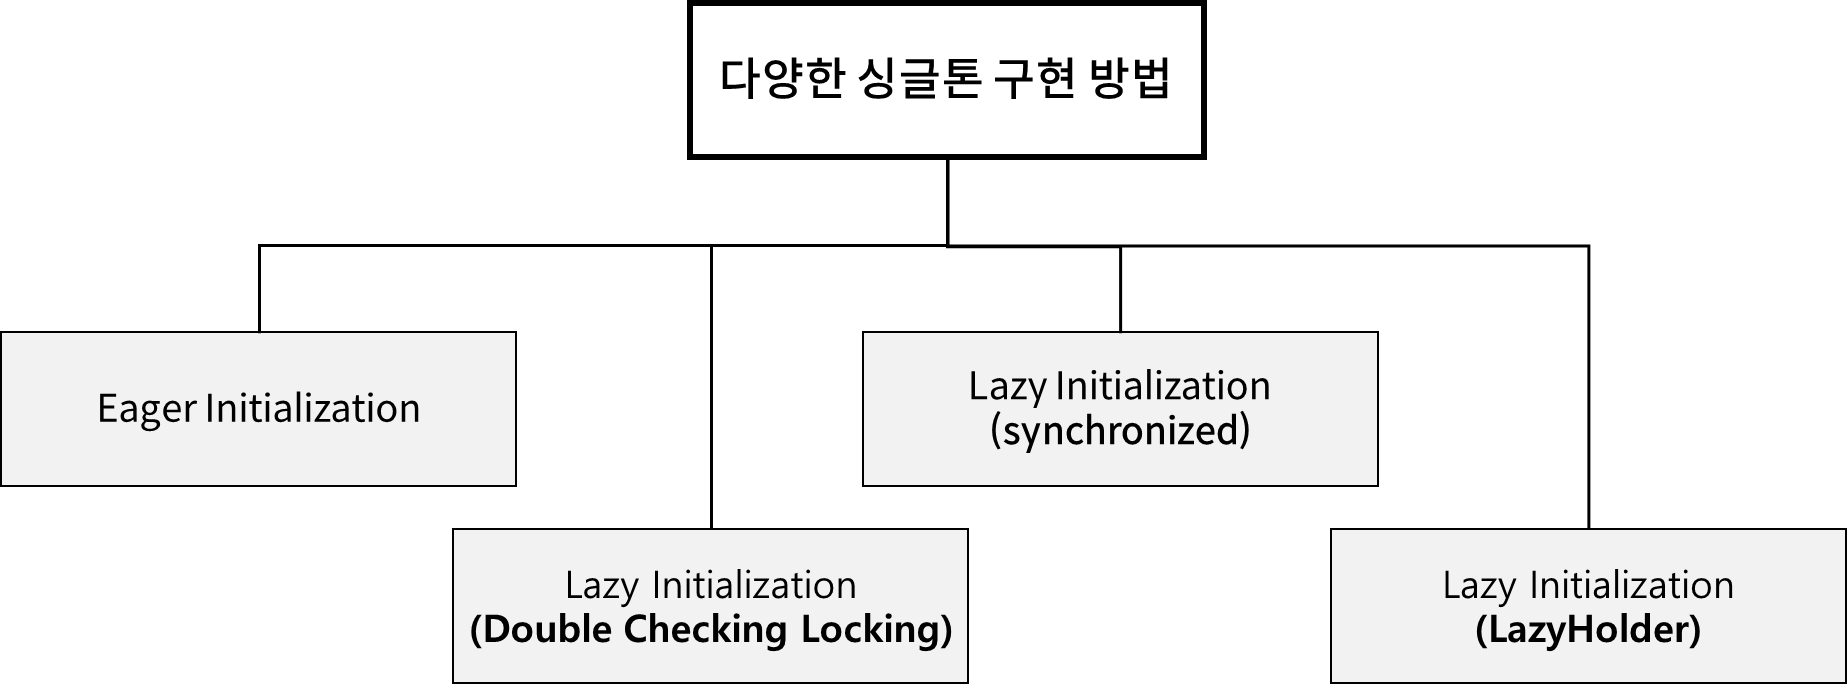
싱글톤 패턴 구현 방법
• 멀티 스레드 환경의 동시성 문제를 해결하기 위한 방법들이 존재한다.
Ex 1. 기본 사용법
public class Singleton {
    //싱글톤 객체를 static 변수로 선언
    private static Singleton instance;
    private int msg;

    //외부에서 생성자 호출 막기
    private Singleton(int msg) {
        this.msg = msg;
    }
    //인스턴스를 전달
    public static Singleton getInstance(int msg) {
        if (instance == null) {
            instance = new Singleton(msg);
        }
        return instance;
    }

    public void printMsg() {
        System.out.println(msg);
    }
}
public class TestSingleton {
public static void main(String[] args) {
Singleton instance = Singleton.getInstance(1);
Singleton instance2 = Singleton.getInstance(2);
instance.printMsg();
instance2.printMsg();
}
}실행결과
1
1
Ex 2. 동시성 문제 (멀티 스레드 환경)
public class Singleton {
    private static Singleton instance;
    private int msg;

    private Singleton(int msg) {
        try {
            Thread.sleep(100);
            this.msg = msg;
        } catch (InterruptedException e) {
            e.printStackTrace();
        }
    }
    public static Singleton getInstance(int msg) {
        if(instance == null) {
            instance = new Singleton(msg);
        }
        return instance;
    }
    public int getMsg() {
        return msg;
    }
}
public class TestSingleton {
public static int num = 1;
public static void main(String[] args) {
Runnable run = () -> {
num++;
Singleton singleton =
Singleton.getInstance(num);
System.out.println("instance : " +
singleton.getMsg());
};
for (int i = 0; i < 10; i++) {
Thread thread = new Thread(run);
thread.start();
}
}
}실행결과
//매번다름
6
5
4
8
2
11
3
7
9
10
Ex 3. Eager Initialization
public class Singleton {
    //선언과 동시에 초기화
    private static Singleton instance = new Singleton(0);
    private int msg;

    private Singleton(int msg) {
        try {
            Thread.sleep(100);
            this.msg = msg;
        } catch (InterruptedException e) {
            e.printStackTrace();
        }
    }
    public static Singleton getInstance() {
        return instance;
    }
    public int getMsg() {
        return msg;
    }
}
public class TestSingleton {
public static int num = 1;
public static void main(String[] args) {
Runnable run = () -> {
num++;
Singleton singleton = Singleton.getInstance();
System.out.println("instance : " + singleton.getMsg());
};
for (int i = 0; i < 10; i++) {
Thread thread = new Thread(run);
thread.start();
}
}
}실행결과
0
0
0
0
0
0
0
0
0
0
Ex 4. Lazy Initialization (synchronized)
public class Singleton {
    private static Singleton instance;
    private int msg;
    private Singleton(int msg) {
        try {
            Thread.sleep(100);
            this.msg = msg;
        } catch (InterruptedException e) {
            e.printStackTrace();
        }
    }
    //synchronized 키워드 사용
    public static synchronized Singleton getInstance(int msg) {
        if(instance == null) {
            instance = new Singleton(msg);
        }
        return instance;
    }
    public int getMsg() {
        return msg;
    …
public class TestSingleton {
public static int num = 1;
public static void main(String[] args) {
Runnable run = () -> {
num++;
Singleton singleton =
Singleton.getInstance(num);
System.out.println("instance : " +
singleton.getMsg());
};
for (int i = 0; i < 10; i++) {
Thread thread = new Thread(run);
thread.start();
}
}
}실행결과
2
2
2
2
2
2
2
2
2
2
Ex 5. Lazy Initialization Double Checking Locking
public class Singleton {
    private static Singleton instance;
    private int msg;
    private Singleton(int msg) {
        try {
            Thread.sleep(100);
            this.msg = msg;
        } catch (InterruptedException e) {
            e.printStackTrace();
        }
    }
    public static Singleton getInstance(int msg) {
    //instance가 null인 경우 synchronized 블록 접근
        if (instance == null) {
            synchronized (Singleton.class) {
                if (instance == null) {
                    instance = new Singleton(msg);
                }
            }
        }
        return instance;
    }
    public int getMsg() { …
public class TestSingleton {
public static int num = 1;
public static void main(String[] args) {
Runnable run = () -> {
num++;
Singleton singleton =
Singleton.getInstance(num);
System.out.println("instance : " +
singleton.getMsg());
};
for (int i = 0; i < 10; i++) {
Thread thread = new Thread(run);
thread.start();
}
}
}실행결과
2
2
2
2
2
2
2
2
2
2
Ex 6. Lazy Initialization (LazyHolder)
public class Singleton {
    private int msg;
    private Singleton(int msg) {
        try {
            Thread.sleep(100);
            this.msg = msg;
        } catch (InterruptedException e) {
            e.printStackTrace();
        }
    }
    //static 클래스안에 static 멤버변수 선언/초기화
    private static class Initial {
        private static final Singleton instance =
			new Singleton(0);
    }
    public static Singleton getInstance() {
        return Initial.instance;
    }
    public int getMsg() {
        return msg;
    }
}
public class TestSingleton {
public static int num = 1;
public static void main(String[] args) {
Runnable run = () -> {
num++;
Singleton singleton =
Singleton.getInstance();
System.out.println("instance : " +
singleton.getMsg());
};
for (int i = 0; i < 10; i++) {
Thread thread = new Thread(run);
thread.start();
}
}
}실행결과
0
0
0
0
0
0
0
0
0
0
반응형
'객체 지향 프로그래밍 > 디자인 패턴' 카테고리의 다른 글
| [구조 패턴] 퍼사드 패턴 (Façade Pattern) 이란? (0) | 2022.05.30 |
|---|---|
| [구조 패턴] 데코레이터 패턴 (Decorator Pattern) 이란? (0) | 2022.05.26 |
| [생성 패턴] 팩토리 메서드 패턴 (Factory Method Pattern) 이란? (0) | 2022.05.26 |
| [생성 패턴] 빌더 패턴 (Builder Pattern) 이란? (0) | 2022.05.25 |


댓글