반응형
블로그를 참고해서 멀티 프로세스(Multi-Process)를 응용하고자 한다.
멀티 프로세스응용하기
1. 싱글 프로세스를이용한이미지 다운로드
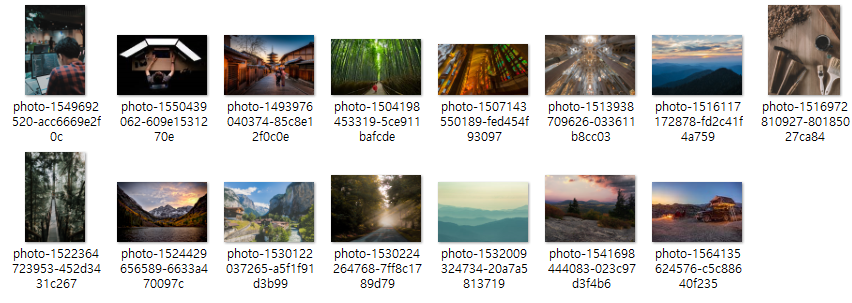
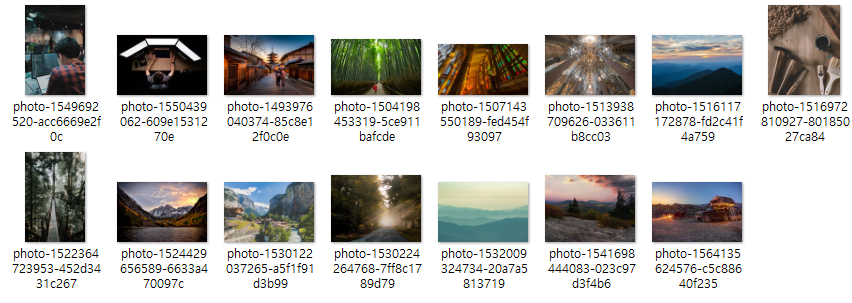
사용할 이미지는 Corey Schafer의 Python Threading Tutorial에서 가져온 15장 이미지를 사용한다. 주어진 이미지는 고해상도 이미지를 사용하며, 다운로드에 약간 시간이 소요된다.
import time
import concurrent.futures
import os

from PIL import Image, ImageFilter

img_names = [
    'photo-1516117172878-fd2c41f4a759.jpg',
    'photo-1532009324734-20a7a5813719.jpg',
    'photo-1524429656589-6633a470097c.jpg',
    'photo-1530224264768-7ff8c1789d79.jpg',
    'photo-1564135624576-c5c88640f235.jpg',
    'photo-1541698444083-023c97d3f4b6.jpg',
    'photo-1522364723953-452d3431c267.jpg',
    'photo-1513938709626-033611b8cc03.jpg',
    'photo-1507143550189-fed454f93097.jpg',
    'photo-1493976040374-85c8e12f0c0e.jpg',
    'photo-1504198453319-5ce911bafcde.jpg',
    'photo-1530122037265-a5f1f91d3b99.jpg',
    'photo-1516972810927-80185027ca84.jpg',
    'photo-1550439062-609e1531270e.jpg',
    'photo-1549692520-acc6669e2f0c.jpg'
]

size = (1200, 1200)
img_dir = './images'
save_processed_img_dir = './processed_image'

if not os.path.exists(save_processed_img_dir):
    os.makedirs(save_processed_img_dir)

if __name__ == '__main__':
    start = time.perf_counter()

    for img_name in img_names:
        img_path = os.path.join(img_dir,img_name)
        img = Image.open(img_path)

        img = img.filter(ImageFilter.GaussianBlur(15))

        img.thumbnail(size)
        img.save(os.path.join(save_processed_img_dir,img_name))
        print(f'{img_name} was processed...')

    finish = time.perf_counter()
    print(f'Finished in {finish-start} seconds')
[실행결과] 10.46초가 소요되었으며, 디렉토리에 이미지 폴더가 생긴 것을 확인할 수 있다.


2. 멀티 프로세스를 이용한이미지 다운로드
다음으로는 멀티 프로세스를 사용하여 이미지를 다운받아 보자.
import time
import concurrent.futures
import os

from PIL import Image, ImageFilter

img_names = [
    'photo-1516117172878-fd2c41f4a759.jpg',
    'photo-1532009324734-20a7a5813719.jpg',
    'photo-1524429656589-6633a470097c.jpg',
    'photo-1530224264768-7ff8c1789d79.jpg',
    'photo-1564135624576-c5c88640f235.jpg',
    'photo-1541698444083-023c97d3f4b6.jpg',
    'photo-1522364723953-452d3431c267.jpg',
    'photo-1513938709626-033611b8cc03.jpg',
    'photo-1507143550189-fed454f93097.jpg',
    'photo-1493976040374-85c8e12f0c0e.jpg',
    'photo-1504198453319-5ce911bafcde.jpg',
    'photo-1530122037265-a5f1f91d3b99.jpg',
    'photo-1516972810927-80185027ca84.jpg',
    'photo-1550439062-609e1531270e.jpg',
    'photo-1549692520-acc6669e2f0c.jpg'
]

size = (1200, 1200)
img_dir = './images'
save_processed_img_dir = './processed_image'

if not os.path.exists(save_processed_img_dir):
    os.makedirs(save_processed_img_dir)

def process_image(img_name):
    img_path = os.path.join(img_dir,img_name)
    img = Image.open(img_path)

    img = img.filter(ImageFilter.GaussianBlur(15))

    img.thumbnail(size)
    img.save(os.path.join(save_processed_img_dir,img_name))
    print(f'{img_name} was processed...')

if __name__ == '__main__':
    start = time.perf_counter()

    with concurrent.futures.ProcessPoolExecutor() as executor:
        executor.map(process_image, img_names)

    finish = time.perf_counter()
    print(f'Finished in {finish-start} seconds')
[실행결과] 2.88초가 소요되었으며, 디렉토리에 이미지 폴더가 생긴 것을 확인할 수 있다. 싱글 프로세스 대비 멀티 프로세스에서 약 8초가량 빨라진 것을 확인할 수 있다. 각 소요시간은 pc 환경에 따라 상이할 수 있으나 동일한 환경과 조건이라면 멀티 프로세스에서 더 빠른 작업속도를 확인할 수 있다.


출처 : https://zephyrus1111.tistory.com/114?category=835757
반응형
'Python' 카테고리의 다른 글
| 멀티 프로세스(Multi-Process) 사용하기 with Python (0) | 2022.07.07 |
|---|---|
| [Python] 히스토그램 변환 with OpenCV (0) | 2022.06.23 |
| 멀티 스레드(Multi-Thread ) 응용하기 with Python (0) | 2022.05.19 |
| 멀티 스레드(Multi-Thread ) 시작하기 with Python (0) | 2022.05.19 |
| 멀티 프로세스 vs 멀티 스레드 (0) | 2022.05.18 |


댓글